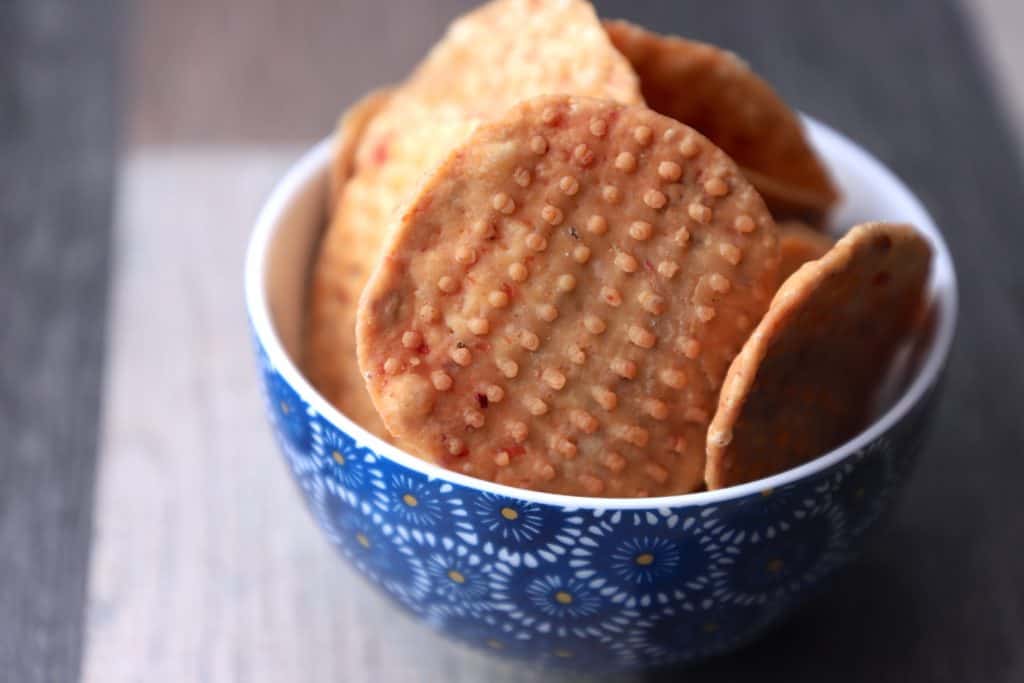
Papdi
Papdi are small crispy and crunchy wafers prepared with the kneaded dough with few spices and fried in the hot oil until crispy. Papadi is known with various names in different regions. You can enjoy these little munching wafers as it is or accompany with any dishes like chaat, dahi papdi etc. Today i am preparing papdi, in this recipe i will show you how to make crispy papdi step by step with photos.
We have just gotten over with the Navratri and Dussehra and there are lot more festivals lined up. India is the country with almost 10 religions, thats the reason we have festivals almost any other day, we just wrapped up Navratri celebration and ready for Karwa chauth, halloween and biggest festival of Hindu’s – Diwali.
Diwali is all about holiday, home visit, sweets, lights, colourful rangoli, new cloths, fire crackers, puja, gift and decorations. During Diwali celebration lots of guests and family members visit our home to share love, gifts and sweets. Lots of sweet and savoury dishes prepared at home and papdi is one of the dish which is prepare almost every year at my home during festivals. Its tasty, crunchy, light and go with any sweet dish and most important you can prepare them in advance and can serve to your guest with any sweet dishes.
Papdi are generally made with all purpose flour, wheat flour, gram flour, rice flour and with any combination of flours. It can be prepared plain and spicy. Papdi can be enjoyed as snacks and you can add them into any dishes, papdi chaat is one of the popular indian snacks. It is accompanied in so many dishes like dahi papdi , bhel puri, sev puri, masala puri.
I am preparing papdi with wheat flour, all purpose flour and giving little twist by adding urad daal(split white gram) paste. I like them crunchy, but if you are preparing for chaat make them little flaky. It is a delicious tea time snacks. Papdi reminds me those hostel days, as I used to have habit of munching them all the time. Whenever I visit home in every 3-4 months my mom used to prepare big batch of papdi for me, so I can take them to the hostel. Papdi have great shelf life and they do not spoil easily, so its a great snack to give your kids if they are staying far from home.
I still miss those delicious munching snacks, it’s a Diwali time so I thought of preparing my mom’s recipe. She used to make very interesting designs on papdi, which I have never seen on ready made ones. I started looking around for moulds to make those embossing dot to make on papdi as my mom made, but couldn’t find any and finally called my mom and asked her about how she made those interesting design. But when I got to know she made it with commonly used kitchen appliance called grater, I was surprised as only a person who has spent half of her life after caring and making food for her family knows the best use of these appliances (or professionally I called it optimum utilisation of available resources).
So finally, I made papdi using my mom’s style and embossed it by using grater. When I sent her a picture of the papdi, she replied with a big smile on her face “you made better than me !”, all the moms are like that, and it was the biggest appreciation of my attempt. I know they didn’t tastes same as my mom’s recipe because it is just impossible to mix that love and care to any food like mom’s do.
I am making papdi by using wheat flour, all purpose flour and urad daal. In spices I added carom seeds or ajwain, chilli flakes, amchoor powder or dry mango powder and salt. I used little oil while kneading because I like them crispy, but if you like flaky one or making for chaat you have to add more amount of oil. If you do not like fried food you can bake these papdi.
How I prefer to have Papdi –
I prefer them with imli(tamarind) chutney or ketchup. Some times with cheesy dips I also tried them with avocados, mash them place over papadi and sprinkle onion, tomato and spices, it tastes really amazing or you can have them in pure desi style by pouring some dahi and tamarind or green chutney and sprinkle spices like black salt, chilli powder and sev.
Can I bake Papdi?
Of course you can bake these papdi to make it more healthier. For baking papdi preheat the oven, place parchment paper on baking tray. Place rolled papdi on baking tray spray or brush with some oil and bake them in to the oven at 180 degree celsius for 20 minutes.
Healthier Papdi –
To make Papdi more healthier, you can make these papadi by just using wheat flour or gram flour, even with flex seed powder. Wheat flour is high in fibre and chickpeas are good source of protein, with other spices you can also add flex seeds.
Shelf life of Papdi –
Papdi have good shelf life if stored properly, I store them and consume them for a month and they do not get spoiled. For better shelf life store them into an air tight container after it’s completely cool down.
Important Notes –
- If you are in hurry and can not wait for urad daal to soak for 2 hours, just skip it.
- Do not fry papdi in very hot oil, they can easily get burnt.
- To get perfect crisp, fry them in right temperature is important. If oil is not enough hot you will end up having soft and oily papadi.
- If you are baking it, roll papdi as thin as possible.
- After rolling dough prick it all over by using fork, this will avoid papdi from puffing up while frying.
I have made some more snacks recipe which has better shelf life and can be store in airtight jar for longer time like Nankhatai, palak ke matar, instant chakli, ribbon pakora, karela mathri please click on the name to get the full recipe.
So without any further delay, lets make crispy papdi recipe.
Watch video –
Printable recipe –
Papdi recipe with step by step photos –
Making dough for papdi –
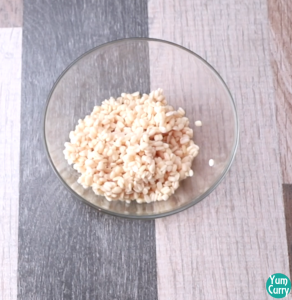
- Wash and soak urad daal for 2 hrs. When it turn soft , drain it and blend it into a smooth paste.
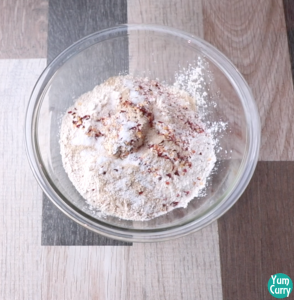
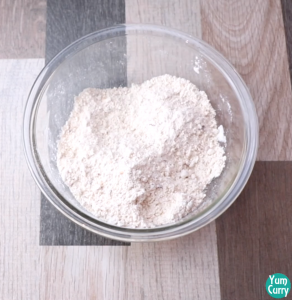
2. In a mixing bowl add all purpose flour, wheat flour and urad dal paste.

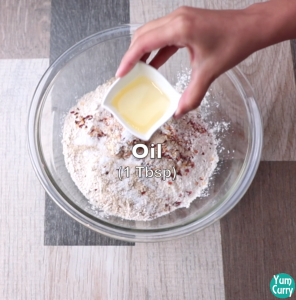
3. Spice up with carom seeds, chilli flakes, amchoor powder(dry mango powder), salt and oil.
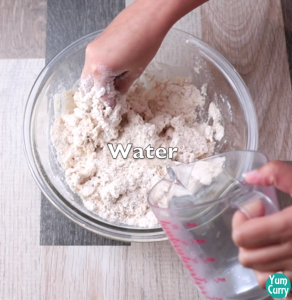
4. Mix all the ingredient well using hands.
5. Add little water at a time to knead the stiff dough.
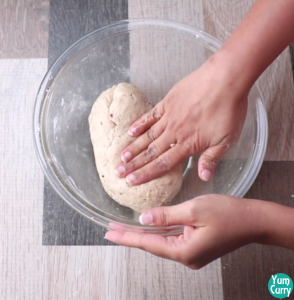
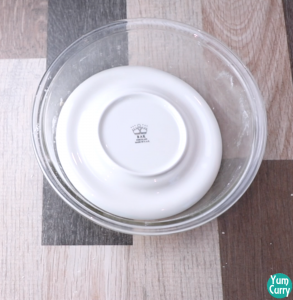
6. Cover the dough and let it rest for 10 minutes.
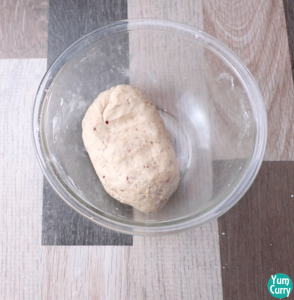
Rolling and frying Papdi –
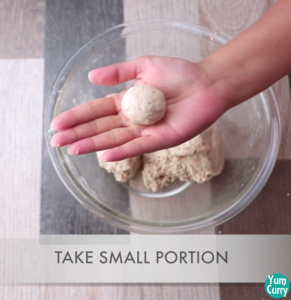
1. Take a small portion from the dough.
2. Roll between your hand and gently flatten it.
3. Now start rolling with rolling pin, if dough is sticky apply some oil on the rolling board.
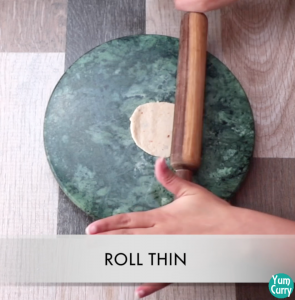
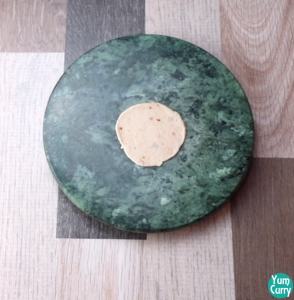
4. Roll in to the thinly small circle about 1.5 inch diameter.
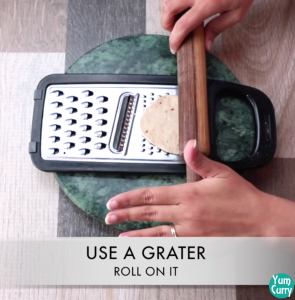
5. To make those little embossing dots on papdi, i am using grater. Take the rolled dough place over grater and start rolling it gently.
6. Prick it all over by using fork. it avoid puffing up of papdi.
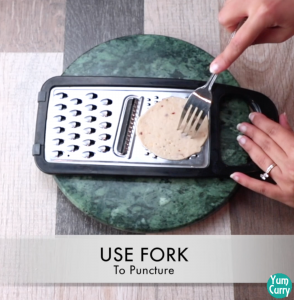
7. Gently pickup the rolled dough, now you can see those embossing dots on the one side of rolled dough.

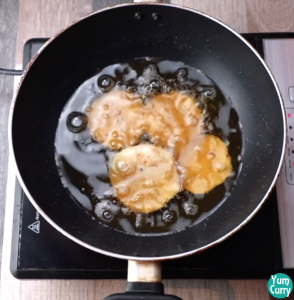
8. Heat a oil in to a deep pan, slid papdi one by one in to hot oil.
9. Stir occasionally, and fry until papdi turn golden brown from the both sides.
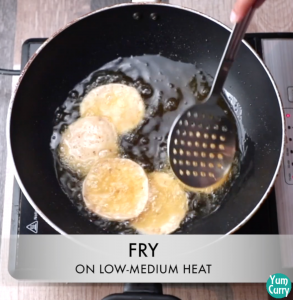
10. Drain papdi and take out on the kitchen towel to soak excess oil.
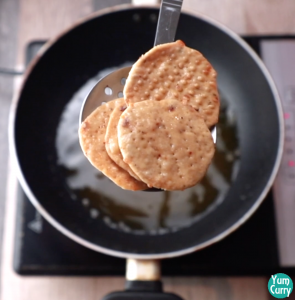
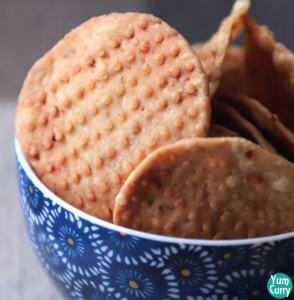
11. Papdi’s are ready. enjoy these little crispy wafers with chutney, ketchup on choice of you dippings.
We would love to know your thought, if you happen to try this recipe please let us know on comment section how you liked it.